Showing posts with label Itty Bitty Greetings. Show all posts

Sunday, 12 May 2019

Freshly Made Sketches 387

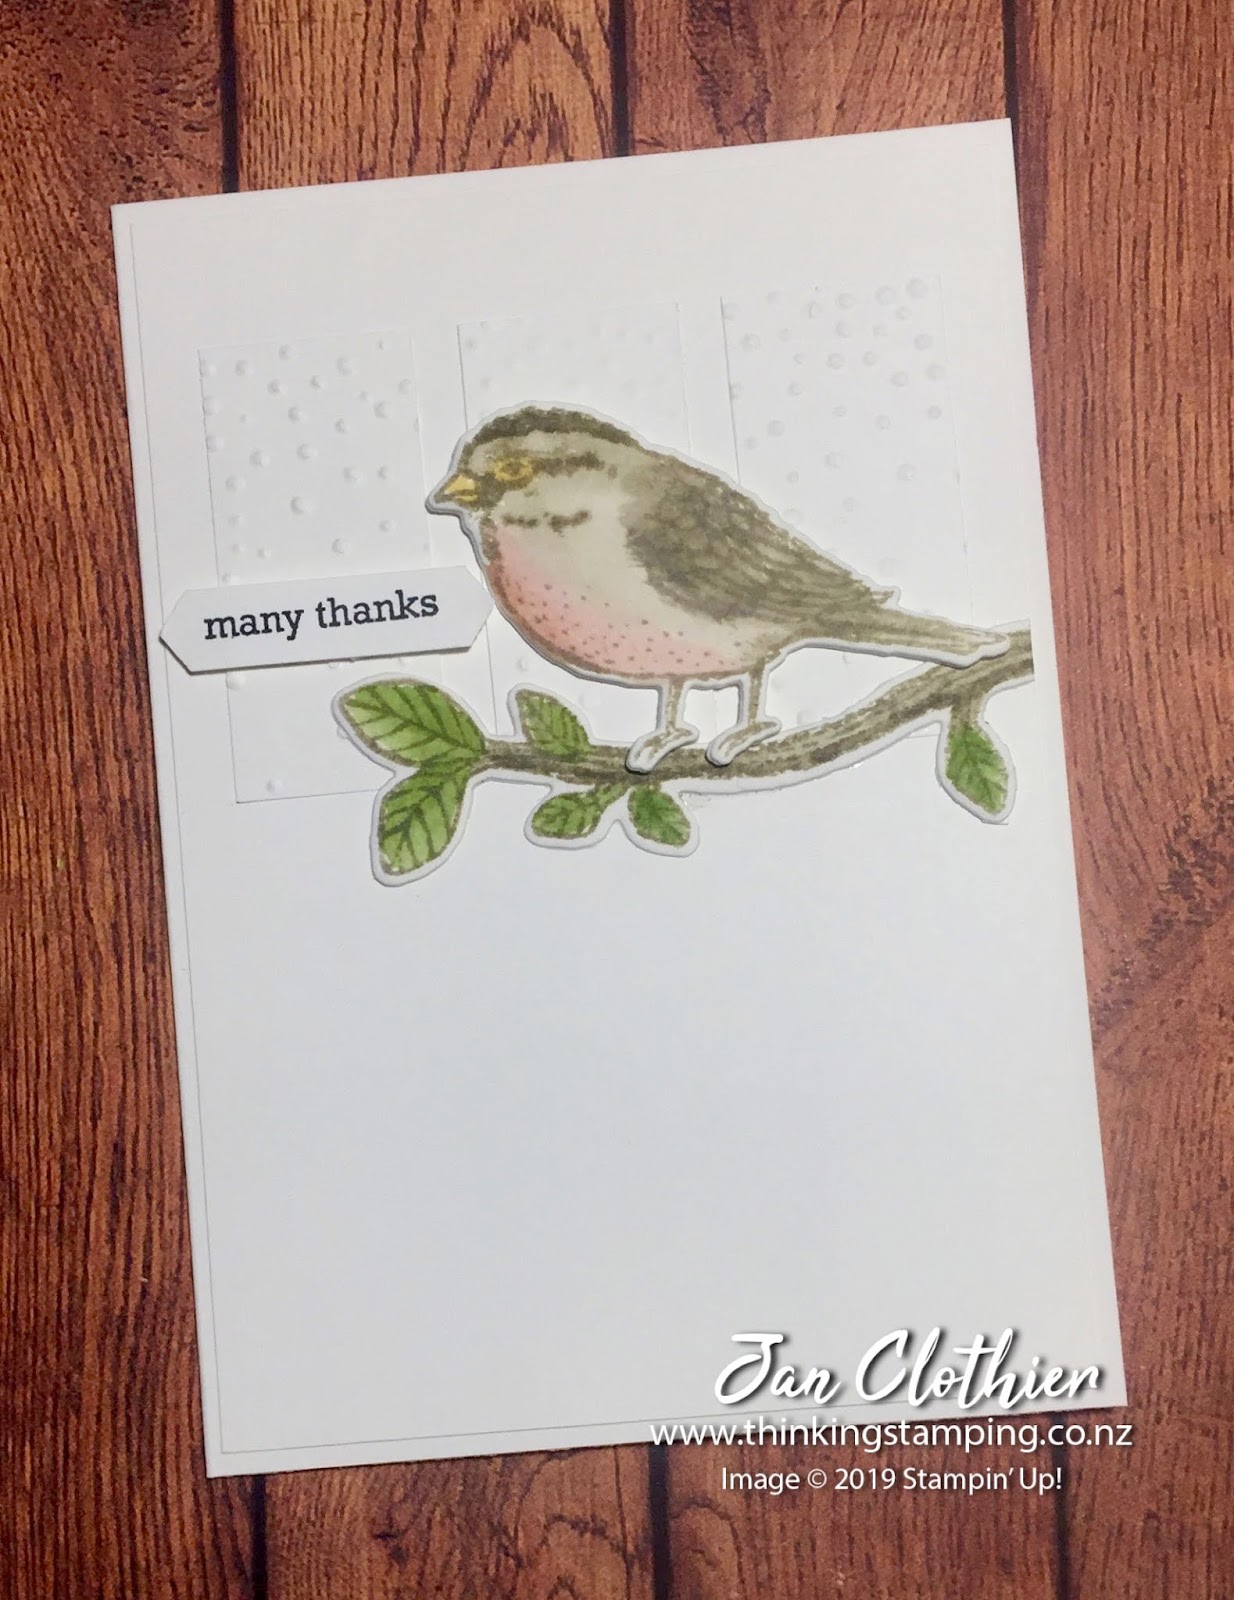
One of the sets I'll miss the most when it retires on 3 June is Best Birds. It's been my go-to watercolour set. The images work well for a range of occasions from weddings to sympathy. So today, I've given it a farewell and thanks, using the sketch at Freshly Made Sketches for inspiration.


The three panels are very subtle in my take on this sketch. It farewells another favourite: the Softly Falling embossing folder. Here it's giving just an impression of falling rain for the best bird.


I've layered up the bird so that she's got some dimension from the branch. 


Farewell and thanks Best Bird and Softly Falling folder. 
If you want these items, order them today. Once they're gone, they're gone. Forever.

If you live in New Zealand and don't have a demonstrator, I'd love to be yours. I can help you with ideas and provide you with Stampin' Up products. Message me by visiting my Facebook page  - there's a link in the sidebar of this blog. Or you can leave a comment below. You can shop with me from anywhere in New Zealand by clicking on the SHOP NOW button in the sidebar or clicking on any of products below will take you to my on-line store.


Product List

Friday, 12 April 2019

As You See It 198 - Design Team Card

I can't believe it's time for a new challenge at As You See It already! This week, we have a sketch for you to get your mojo flowing.


With Mother's Day coming up quickly, I went a bit OTT and used the gorgeous Lace Dynamic Impressions Embossing folder to give a lot of texture to the background. Then I used it again on the Mossy Meadow horizontal element.


I've always liked the Beautiful Day set but haven't used it for a while. It was a pleasure to use Stampin' Blends on it. With three different shades of red, the rose looked really three-dimensional before I started adding the layers over the top of it! Stamping, colouring and fussy cutting a few extra leaves really lifted it too.


At As You See It, we love to see how you interpret our challenges. You have until April 24 to join up with us. You can see what the rest of the team have done with this sketch by clicking here.

If you live anywhere in New Zealand and don't have a Stampin' Up demonstrator, I'd love to help you with ideas and Stampin' Up products. Please message me through my Facebook page, linked in the sidebar of this blog or leave a comment below. 

And, of course, you can shop with me from anywhere in New Zealand by clicking any of the products pictured below or the SHOP NOW button in the sidebar of this blog or you can message me.


Product List

Thursday, 11 April 2019

Swaps for OnStage Auckland

Today was the first day of OnStage Auckland. It's so exciting to be at the big three-day event, rather than on OnStage Local. So exciting, that I made swaps for this one! And along the way, I found a new use for my Stamparatus.

Because I was making a lot, I kept things simple. Sponging is one of my favourite techniques, so I updated an old card with new product. I used the leaves from Rooted in Nature, the butterfly from Butterfly Gala and the sentiment from Itty Bitty Greetings. I've previously made it in Night of Navy and Melon Mambo using Kinda Eclectic, Papillon Potpourri and Endless Birthday Wishes. This design is very easy to update and to make an 'any occasion' card by simply choosing a different sentiment from Itty Bitty Greetings. If I was using this in a class, I'd let my people choose their own.


I chose Rich Razzleberry and Old Olive as my base colours just because I like them. I've added Crushed Curry in the sponging but again, this design will work in any colour combination.

Some of the butterflies I coloured with Stampin' Blends and some I sponged with a dauber. Choose the colouring method that suits you and your group.


I found a new way to use Stamparatus in the making of this card. Always for me the finicky part of sponging is lining up the mask over the card front in just the right place and in making sure that there is no card front accidentally left exposed to get an unwanted swish of colour.

Because Stamparatus hold everything so firmly, it's perfect for positioning masks.


1. Put your card front into the Stamparatus, place the mask over the top and use the magnets to hold it all together. The mask and card front are the same size - so no mix up on where to position the circle and no bits hanging out to get accidentally coloured. NB - The broken magnet worked out really well in holding the small corner. 😀


2. Sponge on the colour


3. Stamp the sentiment using the hinge plate.


4. Voila - done!


Add in the leaf stamp.
Because I was using the leaf stamp twice, I stamped them in afterwards but if it had been a single stamp, I could have set it up on the second hinge plate.

Product List